DocFort User Guide

How to Upload and Categorize Documents

Documents can be uploaded to the DocFort solution using two methods

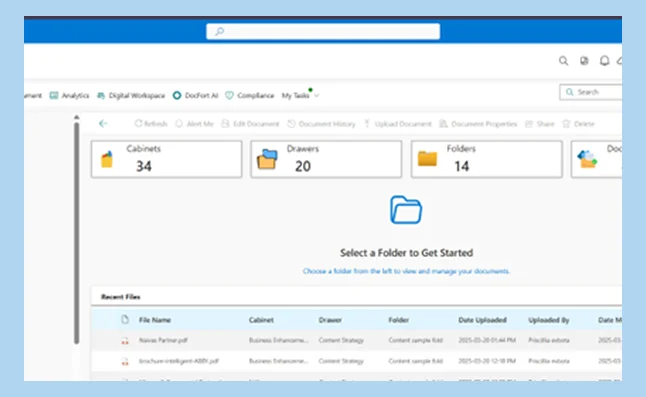
To upload new documents using the first method, Select the ‘New Documents‘ action button as indicated in the image above.

Once selected, a pop-up screen will appear, asking you to input several required fields before the document can be uploaded.

Once selected, a pop-up screen will appear, asking you to input several required fields before the document can be uploaded.

Note: New folders can also be created in this process of uploading new documents. To create new folders, Select “Create Folders”, give the folder a title, and Click on the Create button to complete the process. See the image below for reference.

Note: Selection of content types is only possible on the first document uploaded into a folder. The image below can be used as a reference for “First document Upload”

This image serves as a reference for when a content type has just been selected for the first document upload

The image below can be used as a reference for the Subsequent uploading of documents into a folder with the content type already attached.

After inputting the required information, Select the “Upload File” button to begin the upload process.


Upon selecting the document to be uploaded, Click on the open button as seen in the image below to upload the document into the solution.

After successfully uploading the file into the solution, the Submit button will become activated. Click on the submit button to complete the uploading of the document into the DocFort solution. See the image below for reference.

The Second method of uploading a document into the solution is done by directly uploading it within the folder where the document is to be situated.

To upload the document, Select the “Upload Document” button at the top Navigation bar. Once selected, a pop-up screen for the upload process comes up and users would have to put in the various required fields to successfully upload the document into the solution.

The image above shows the uploading process for an empty folder. In such an uploading process, the selection of content type is required to allocate a custom metadata field to the folder for subsequent document upload.

The image above shows the upload process for subsequent documents into a folder already with documents. This is the pop-up that first comes up when Upload Document” is selected.


The image below shows the next step in the process where the content type just selected or predominantly attached to the document gets displayed.

The above meta-data fields need to be selected for the upload process to be completed once the document has been uploaded into the uploading pop-up screen.


Once the digital upload process has been completed, Select the “Submit button” to successfully upload the document into the solution. See the image below for reference.